I don't often get the chance to revisit
old work, I'm usually thinking about the work I'm about to do!
But I recently took the time to go back and take
some pictures of a few old projects. I've never been that great
about taking photographs of my work, and a lot of the pictures I do
have seem to have that newly constructed rawness to them. So this
was a nice opportunity to take some photographs of work that has been
settling in for a bit. In the photo above, you can see the section
of wall that fell down and was rebuilt from the lighter color of the
stone. It will take a few more years of sun and dirt and oxygen to darken my side of the wall to the same
dark grey.

The image above is the joint between
the old wall and the restored wall. The old wall has a good deal of
plant life growing from it. This joint is actually a three part
joint: The very large stone at the very bottom is actually a finger
of the big stone outcropping on the slope behind the wall. In order
to lute the new wall and the old wall with the bedrock I had to cut a
little shelf in the bedrock. Once I was able to set stone at level
instead of the existing incline I could use the bedrock as
foundation.
Once the bedrock had been dealt with, I
still had to work into the partial arch of old wall. The rock work
was solid there, and the stone was caught in an arch of force. I
wanted to reinforce and recomplete the arch without damaging the wall
any further. Let me clarify what I mean a little. Drystack walls
(and other masonry) form lines of force, where the stones settle into
each other, and the natural inclination of objects to distribute
weight (in arches, spheres really) takes effect. This can be shown in
situations exactly like the one above: when walls give out, the part
that remains is usually in the form of an arch. This is showing the
preexisting lines of force that were holding the structure. The
stone that fell, bearing relatively little of the weight of the
structure, was really just hanging there beneath. With a little
sideways pressure, from erosion, freeze cycles, etc., the 'hanging'
stone gives way, and often pulls everything nearby as well.

This photograph is from the local
paper, they ran a little story on the restoration. “Local Mason
Finds History in Old Wall” or something like that. I'm exposing
the wall and organizing the rubble left after the collapse. Quite a
few glass bottles survived inside the wall, where the masons may have
dropped it in as they worked. The glass appeared to be from the
1920's, which fits the building. Some were large pint sized flasks,
while some were smaller bottles, as for patent medicine, elixirs,
pharmaceuticals. Never know what you'll find when you start digging.

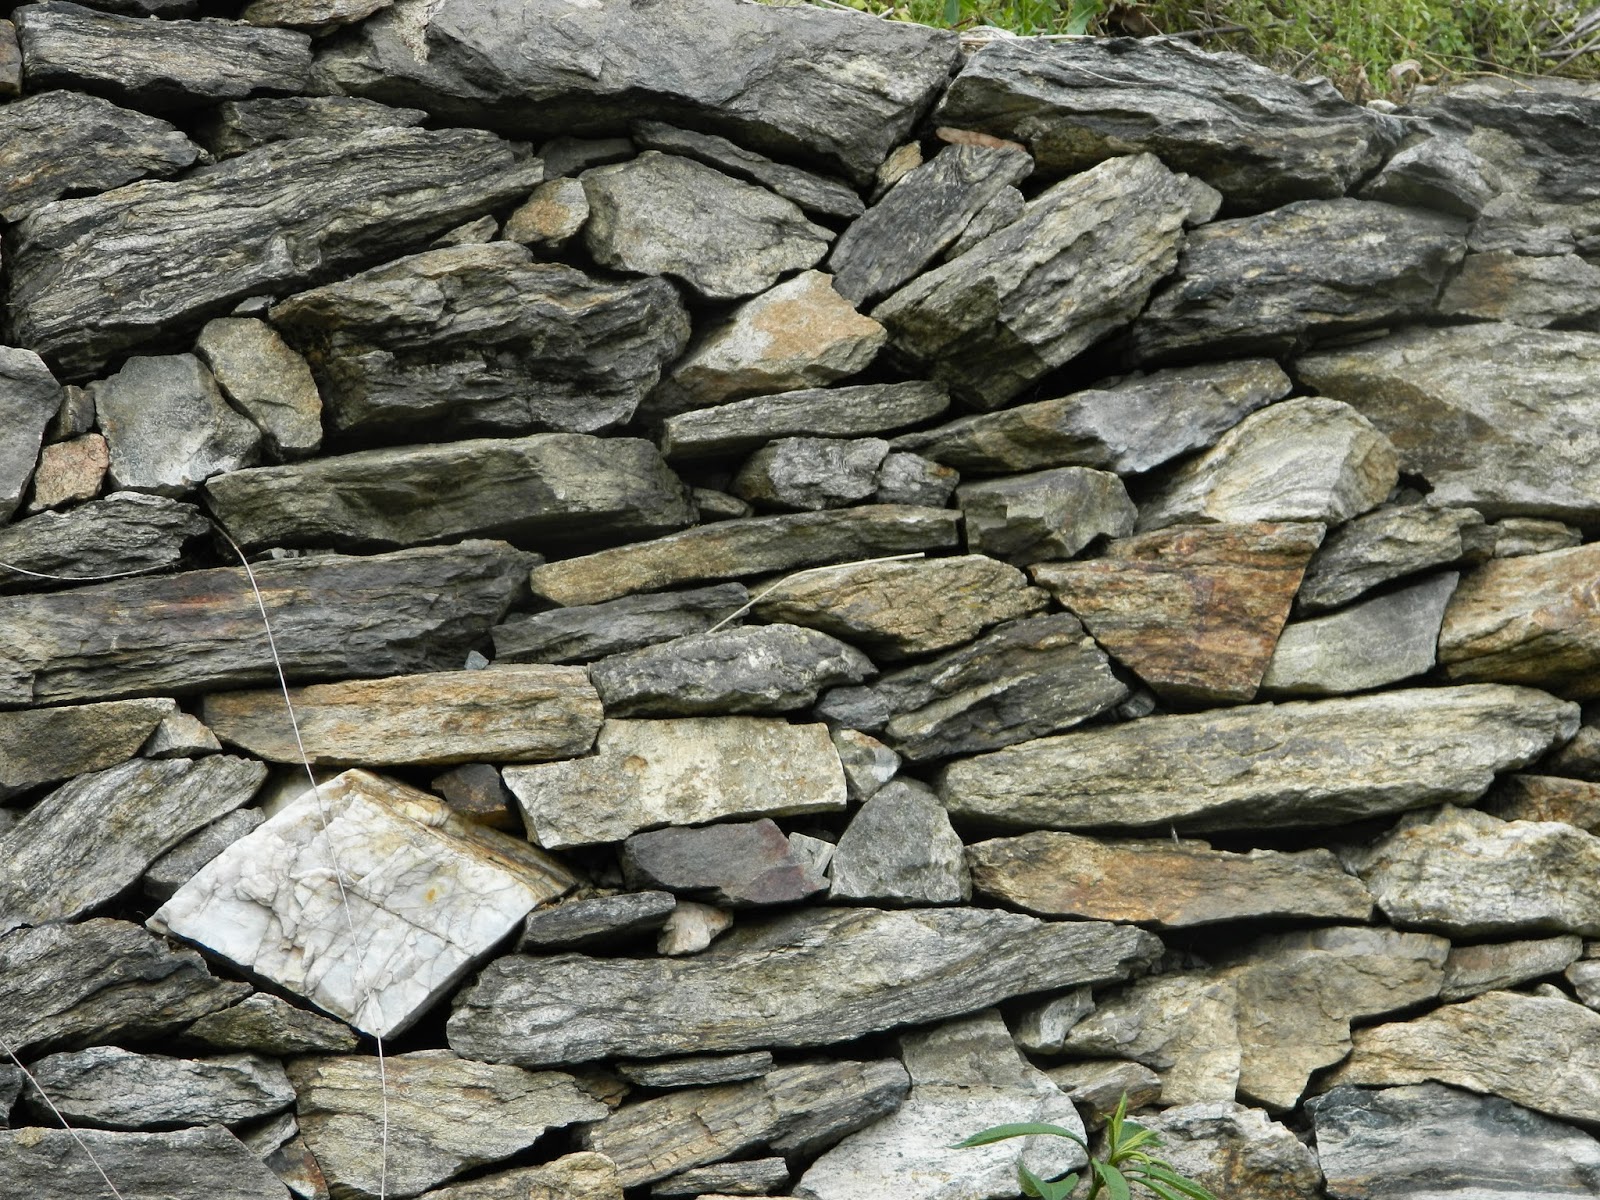
Some nice details on this wall. I tried to match the style of the existing work. I couldn't resist placing that quartz diamond shape in the lower left hand. It was not easy, I remember it had nothing but weird angles. It was actually a much larger stone, with only that face showing. In order to make it look like a simple diamond shape I had to use some fancy footwork with the surrounding stones. I will have to revisit again some time soon and post some more details. Here is one last image.


